Creating Your DIY Home Music and Video Studio: A Step-by-Step Guide
Building your own home music and video studio is an exciting and rewarding project that allows you to unleash your creativity and produce high-quality content without the need for expensive studio rentals. Whether you’re a musician, content creator, or aspiring filmmaker, having your own studio setup can be a game-changer. In this blog, we’ll walk you through the essentials of setting up a DIY music and video studio in your home, providing you with practical tips and gear recommendations to make your dream studio a reality.
Step 1: Choose the Right Space
The first step in building your DIY studio is selecting the right space. Depending on your available room, this can be anything from a spare bedroom to a basement or even a corner of your living room. Here are a few things to consider:


- Size: Ensure the space is large enough to accommodate all your gear and allow for some movement. For both music and video, you’ll need enough room to position your equipment comfortably.
- Sound Isolation: For a music studio, sound isolation is key. If possible, choose a room away from noisy areas in the house or use soundproofing materials to minimize external noise.
- Lighting: Good lighting is crucial for a video studio. Ideally, you want natural light (but avoid direct sunlight), as well as adjustable artificial lighting to control your setup during shoots.
Step 2: Acoustic Treatment (For Music and Audio)
To get the best sound quality in your music and video projects, acoustic treatment is a must. This doesn’t mean completely soundproofing the room (which can be expensive), but rather improving how sound behaves in the space. Here’s how you can do it on a budget:
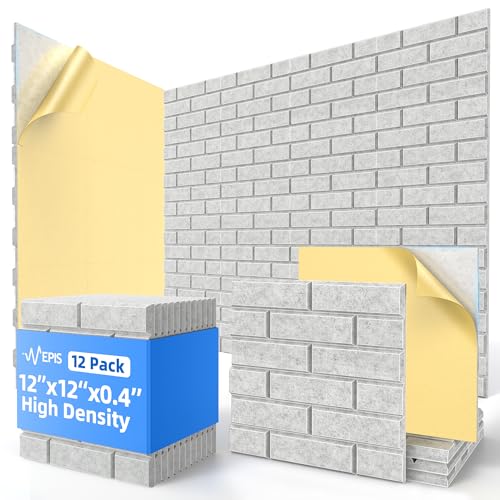


- Acoustic Panels: These are foam or fabric-covered panels that help reduce echo and reverb. Place them on your walls and corners to help absorb sound.
- Bass Traps: Bass frequencies can be difficult to manage in small rooms, but bass traps placed in the corners will help control those low-end frequencies.
- Diffusers: These scatter sound waves to prevent buildup of unwanted sound reflections, creating a more balanced listening environment.
While sound treatment is often associated with music production, it’s just as important for video. The clearer your audio is, the better the quality of your video production.
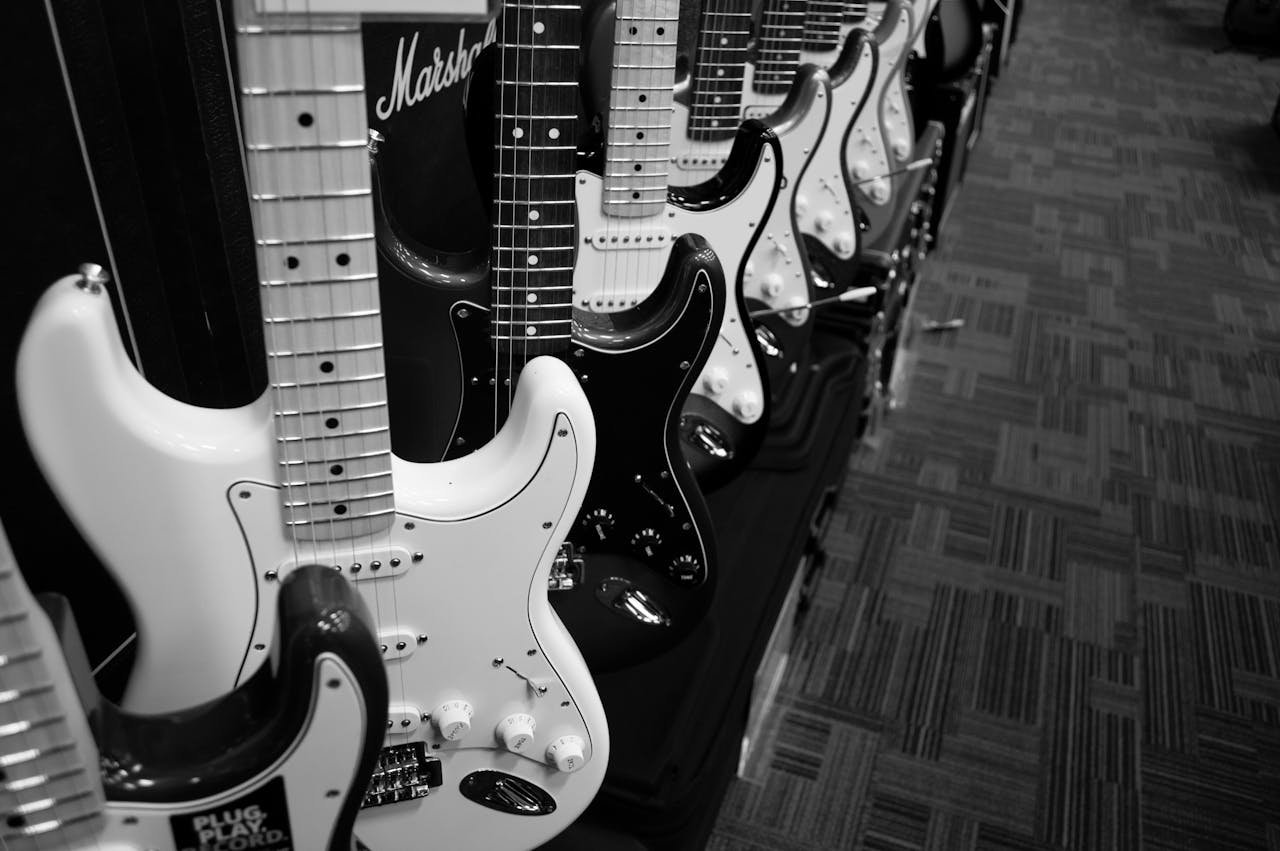
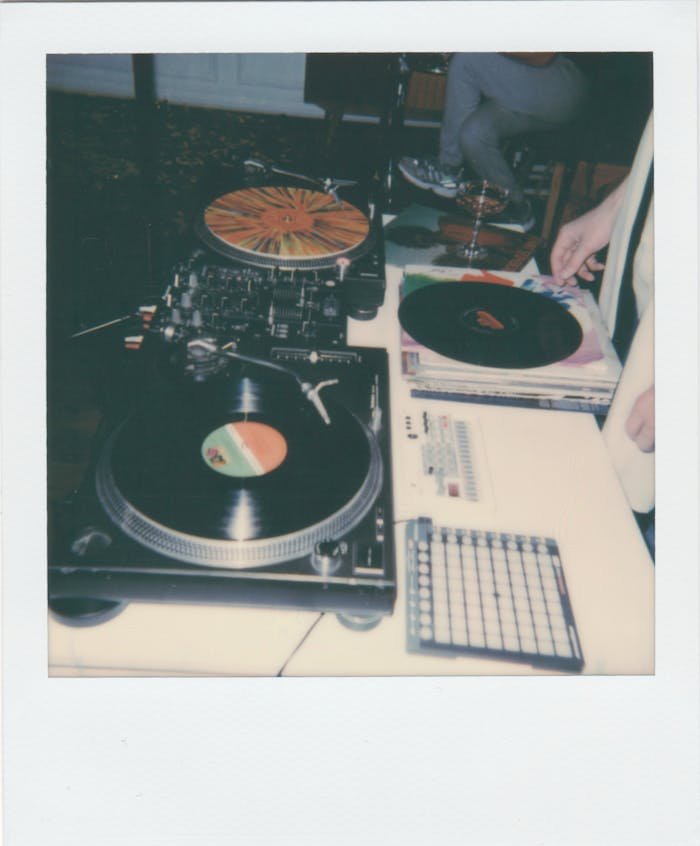
Step 3: Essential Music Production Gear
A DIY music studio doesn’t require all the gear you’d find in a high-end professional studio, but there are some essential pieces of equipment that will take your music production to the next level:
- Audio Interface: This device connects your instruments and microphones to your computer. It’s one of the most important pieces of gear for recording audio. Popular choices include Focusrite Scarlett, PreSonus AudioBox, and Universal Audio Apollo.
- Studio Monitors: Accurate sound reproduction is essential for mixing and mastering music. Look for a pair of studio monitors (speakers) that fit your space, such as the Yamaha HS Series or KRK Rokit monitors.
- Microphones: A good quality microphone is a must for recording vocals or instruments. A versatile, budget-friendly option is the Audio-Technica AT2020, while the Shure SM7B is a great choice for professional-grade recordings.
- MIDI Keyboard: If you work with virtual instruments or want to play melodies and beats, a MIDI keyboard is invaluable. Check out options from Akai, Novation, or M-Audio.
- Headphones: A pair of closed-back headphones, like the Audio-Technica ATH-M50x, will allow you to listen to your mixes in detail and avoid sound leakage during recording.
Step 4: Essential Video Production Gear
For video, you’ll need gear that not only captures your footage but also ensures that it looks polished and professional. Here’s what to get started:
- Camera: While many modern smartphones are capable of shooting high-quality video, you may want to invest in a dedicated camera for better control over your settings and image quality. Cameras like the Sony A7 series or Canon EOS M50 are great choices for home studios.
- Tripod: Stability is key in video production, so having a sturdy tripod is essential for capturing smooth, steady shots. Look for a tripod that allows you to adjust the height and angles easily.
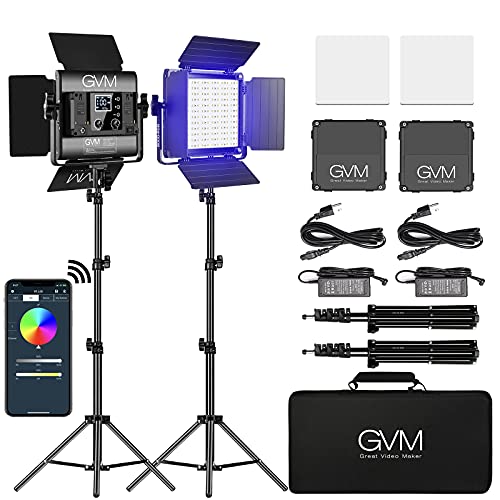
- Lighting Kit: Lighting can make a huge difference in video quality. A basic three-point lighting setup (key light, fill light, backlight) is ideal. You can use affordable softbox kits or LED panel lights from brands like Neewer or Godox.
- Green Screen: If you plan on doing any kind of background replacement or virtual sets, a green screen will be invaluable. Look for a collapsible or foldable option to save space.
- Video Editing Software: Software is crucial for editing your video content. Options like Adobe Premiere Pro, Final Cut Pro, and DaVinci Resolve are excellent for both beginners and professionals.
Step 5: Computer and Software Setup
Your computer is the heart of your studio, and it should be powerful enough to handle audio and video editing tasks without lagging or crashing. Here are some things to consider:
- Computer: A computer with a fast processor, plenty of RAM (16GB or more), and a solid-state drive (SSD) for fast read and write speeds is essential. Whether you go for a PC or a Mac is up to your personal preference.
- Digital Audio Workstation (DAW): This software is where you’ll record, edit, and mix your music. Popular DAWs include Ableton Live, Logic Pro, and FL Studio for music production.
- Video Editing Software: For editing video, as mentioned earlier, Adobe Premiere Pro, Final Cut Pro, or DaVinci Resolve are top choices for editing and post-production.
Step 6: Organization and Workflow
The key to an efficient home studio is an organized workflow. Here are some tips to keep your space tidy and productive:
- Cable Management: Use cable ties, clips, or cable trays to keep your wires organized and prevent clutter.
- Storage: Invest in storage units for your gear, whether it’s for microphones, cables, or extra lenses. Shelves and racks can keep everything accessible and neat.
- Desk Setup: A comfortable, ergonomic desk is a must for long production sessions. A desk with enough surface space for your computer, MIDI keyboard, and other equipment will ensure that you’re able to work efficiently.
Step 7: Final Touches
Once you’ve set up your gear and workspace, don’t forget to personalize your studio. Add posters, art, or lighting to inspire creativity. Consider setting up a comfortable chair or seating area for when you need to take a break or brainstorm ideas.
Conclusion
Building your own DIY music and video studio is not only an achievable project, but it can also be a fun and fulfilling way to create professional-quality content in the comfort of your own home. With the right gear, space, and organization, you can create a versatile studio that allows you to produce both music and video projects that rival professional studios.
So gather your tools, get creative, and start building your dream home studio today!